Maps
Maps allow you to create interactive maps within your Module. Maps provide a visual reference point that can be annotated with Points of Interest and linked to your Nodes. While they're perfect for geographical layouts, they can represent anything visual: a relationship diagram, a timeline, a conspiracy board, or any image where you want to highlight and connect specific areas.
Maps can be placed on the Board as Map Tokens, where they can be explored interactively. Editor integration is coming soon. Each map can be customized with markers, zoom levels, and visual styling to suit your needs.
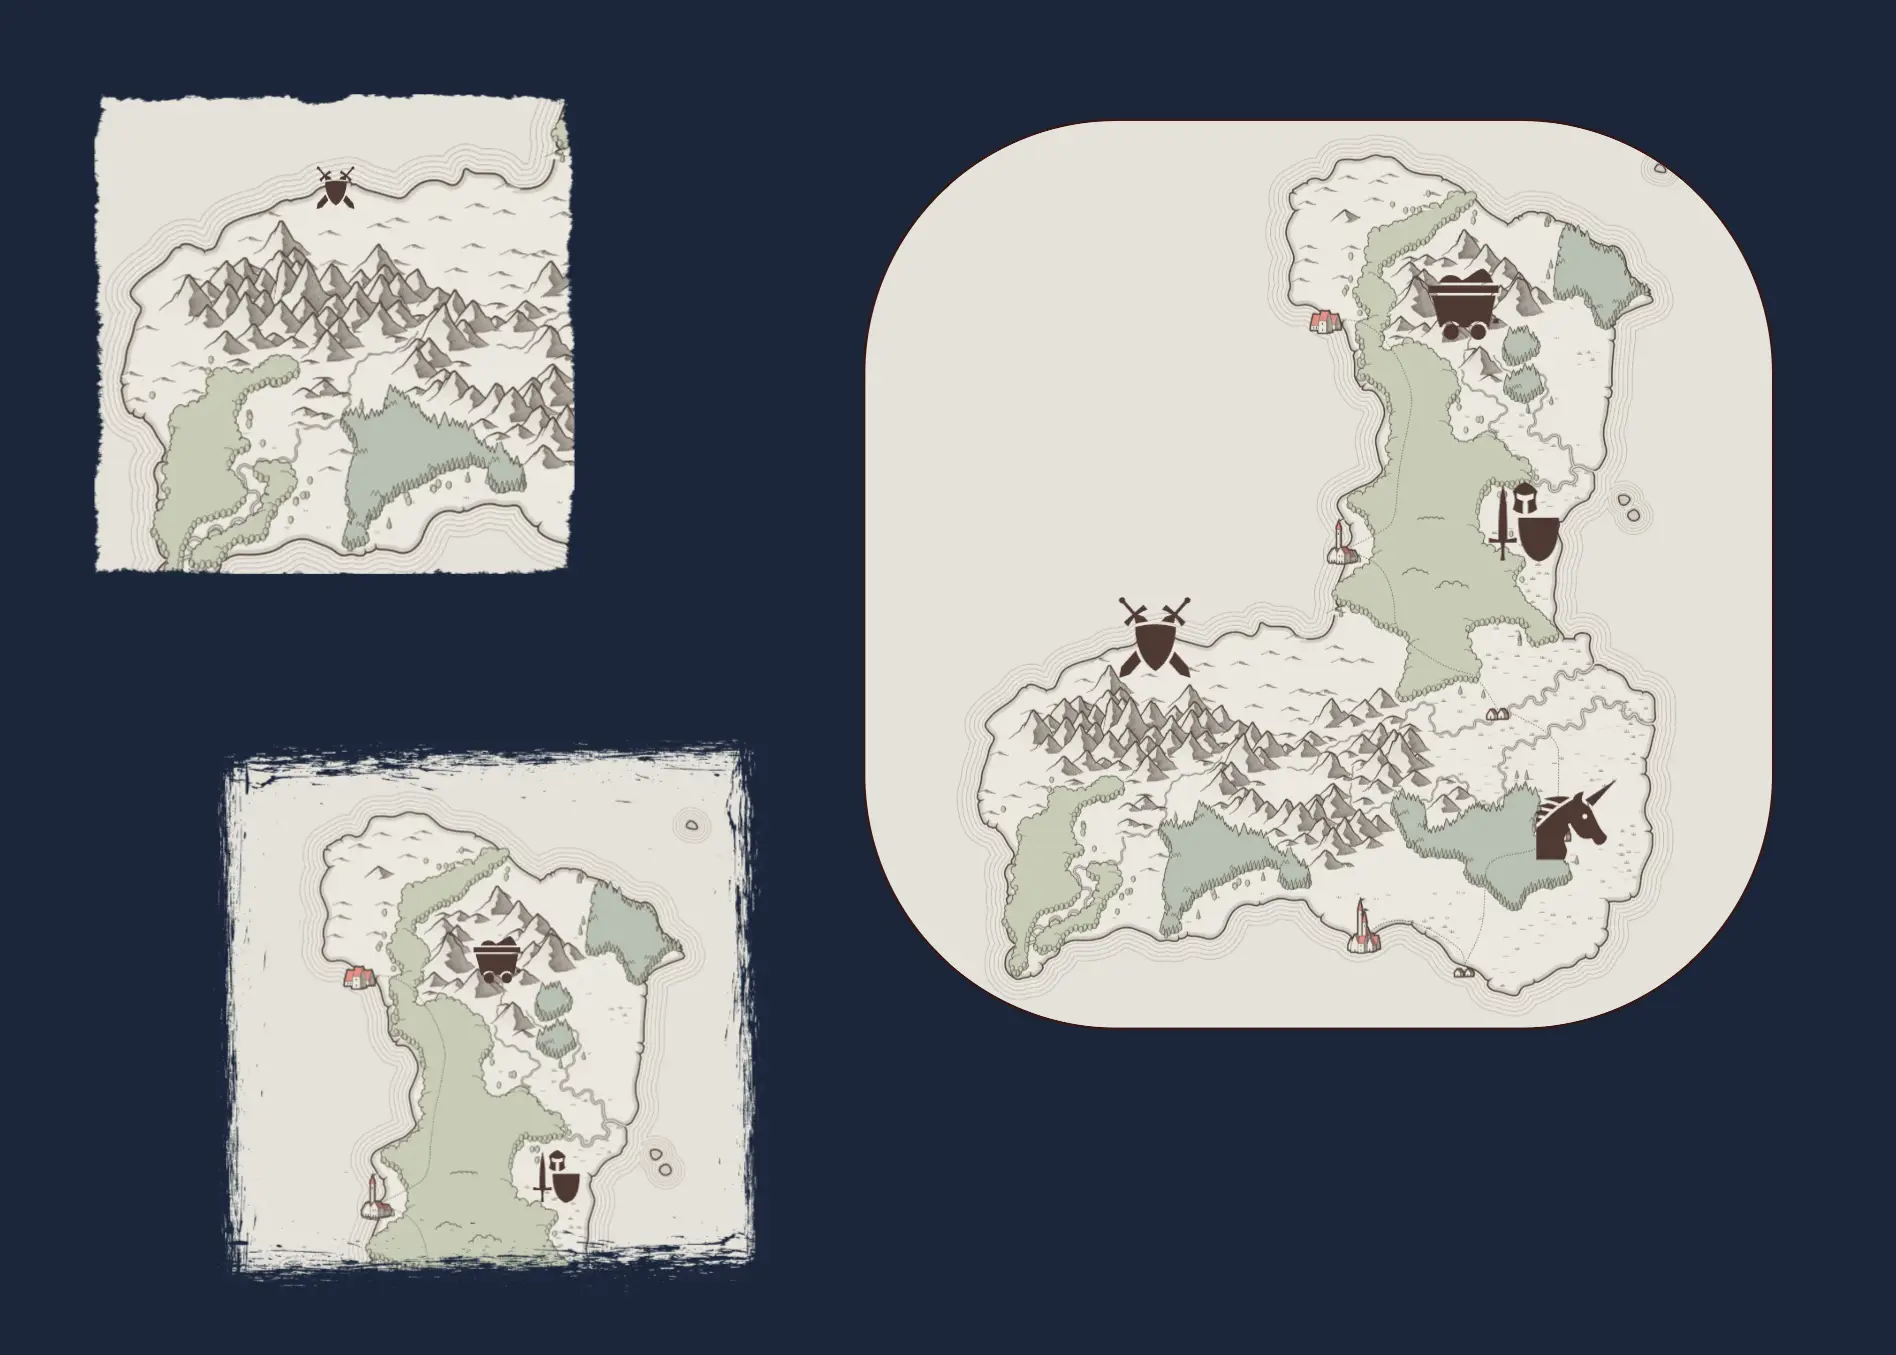
Multiple Tokens of the same Map
Creating a Map
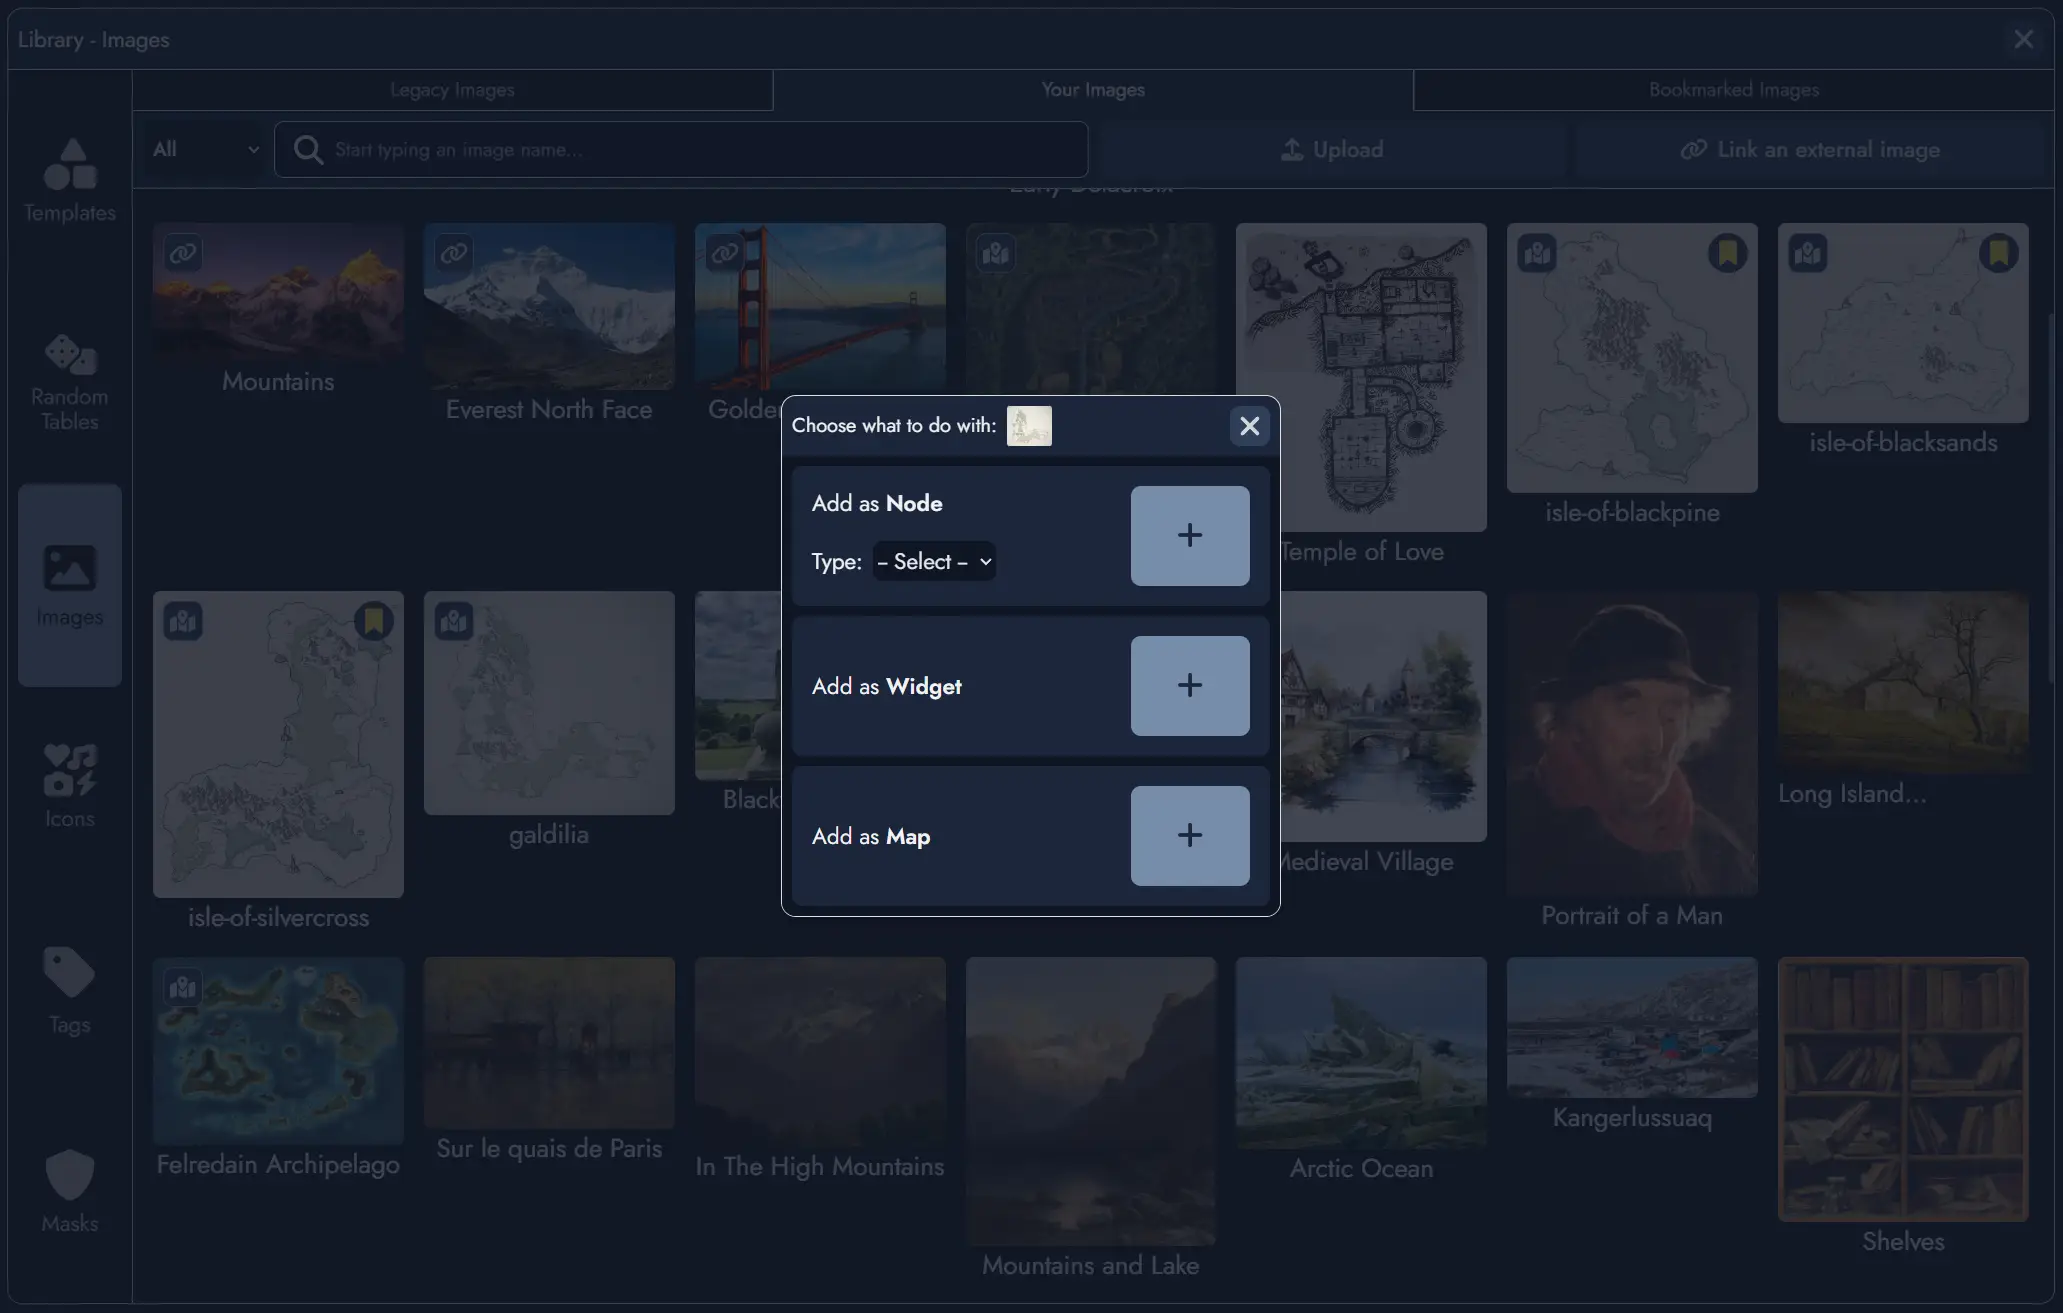
To create a Map, you must first have an image uploaded to your Image Library. Only user-uploaded images can be used to create maps. Images from external URLs or the default icon library are not supported for this feature.
There are three ways to create a new Map:
- From the Library: Open the Library (via the button in the top toolbar, from the mobile menu, or with the shortcut Ctrl + L). Navigate to the Images section and select the image you want to use as a map. Click the button on the image, then select "Add as Map" in the modal window.
- From the Board's context menu: Right-click (or long press on mobile) anywhere on the Board to open the context menu, then select "Add Map". You will then be prompted to select a user-uploaded image from your Image Library.
- From the Board's toolbar: Click the "Add Maps" button in the Board's toolbar. You will then be prompted to select a user-uploaded image from your Image Library.
The newly created Map will be added to the Board as a Map Token. You can then open it in the Map Editor to begin adding Points of Interest and customizing the map.
The Map Editor
The Map Editor is a dedicated interface for editing your maps. By default, it opens in full-screen mode, providing maximum space to work with your map, but it can also be displayed as a floating window within the Board using the windowed mode button .
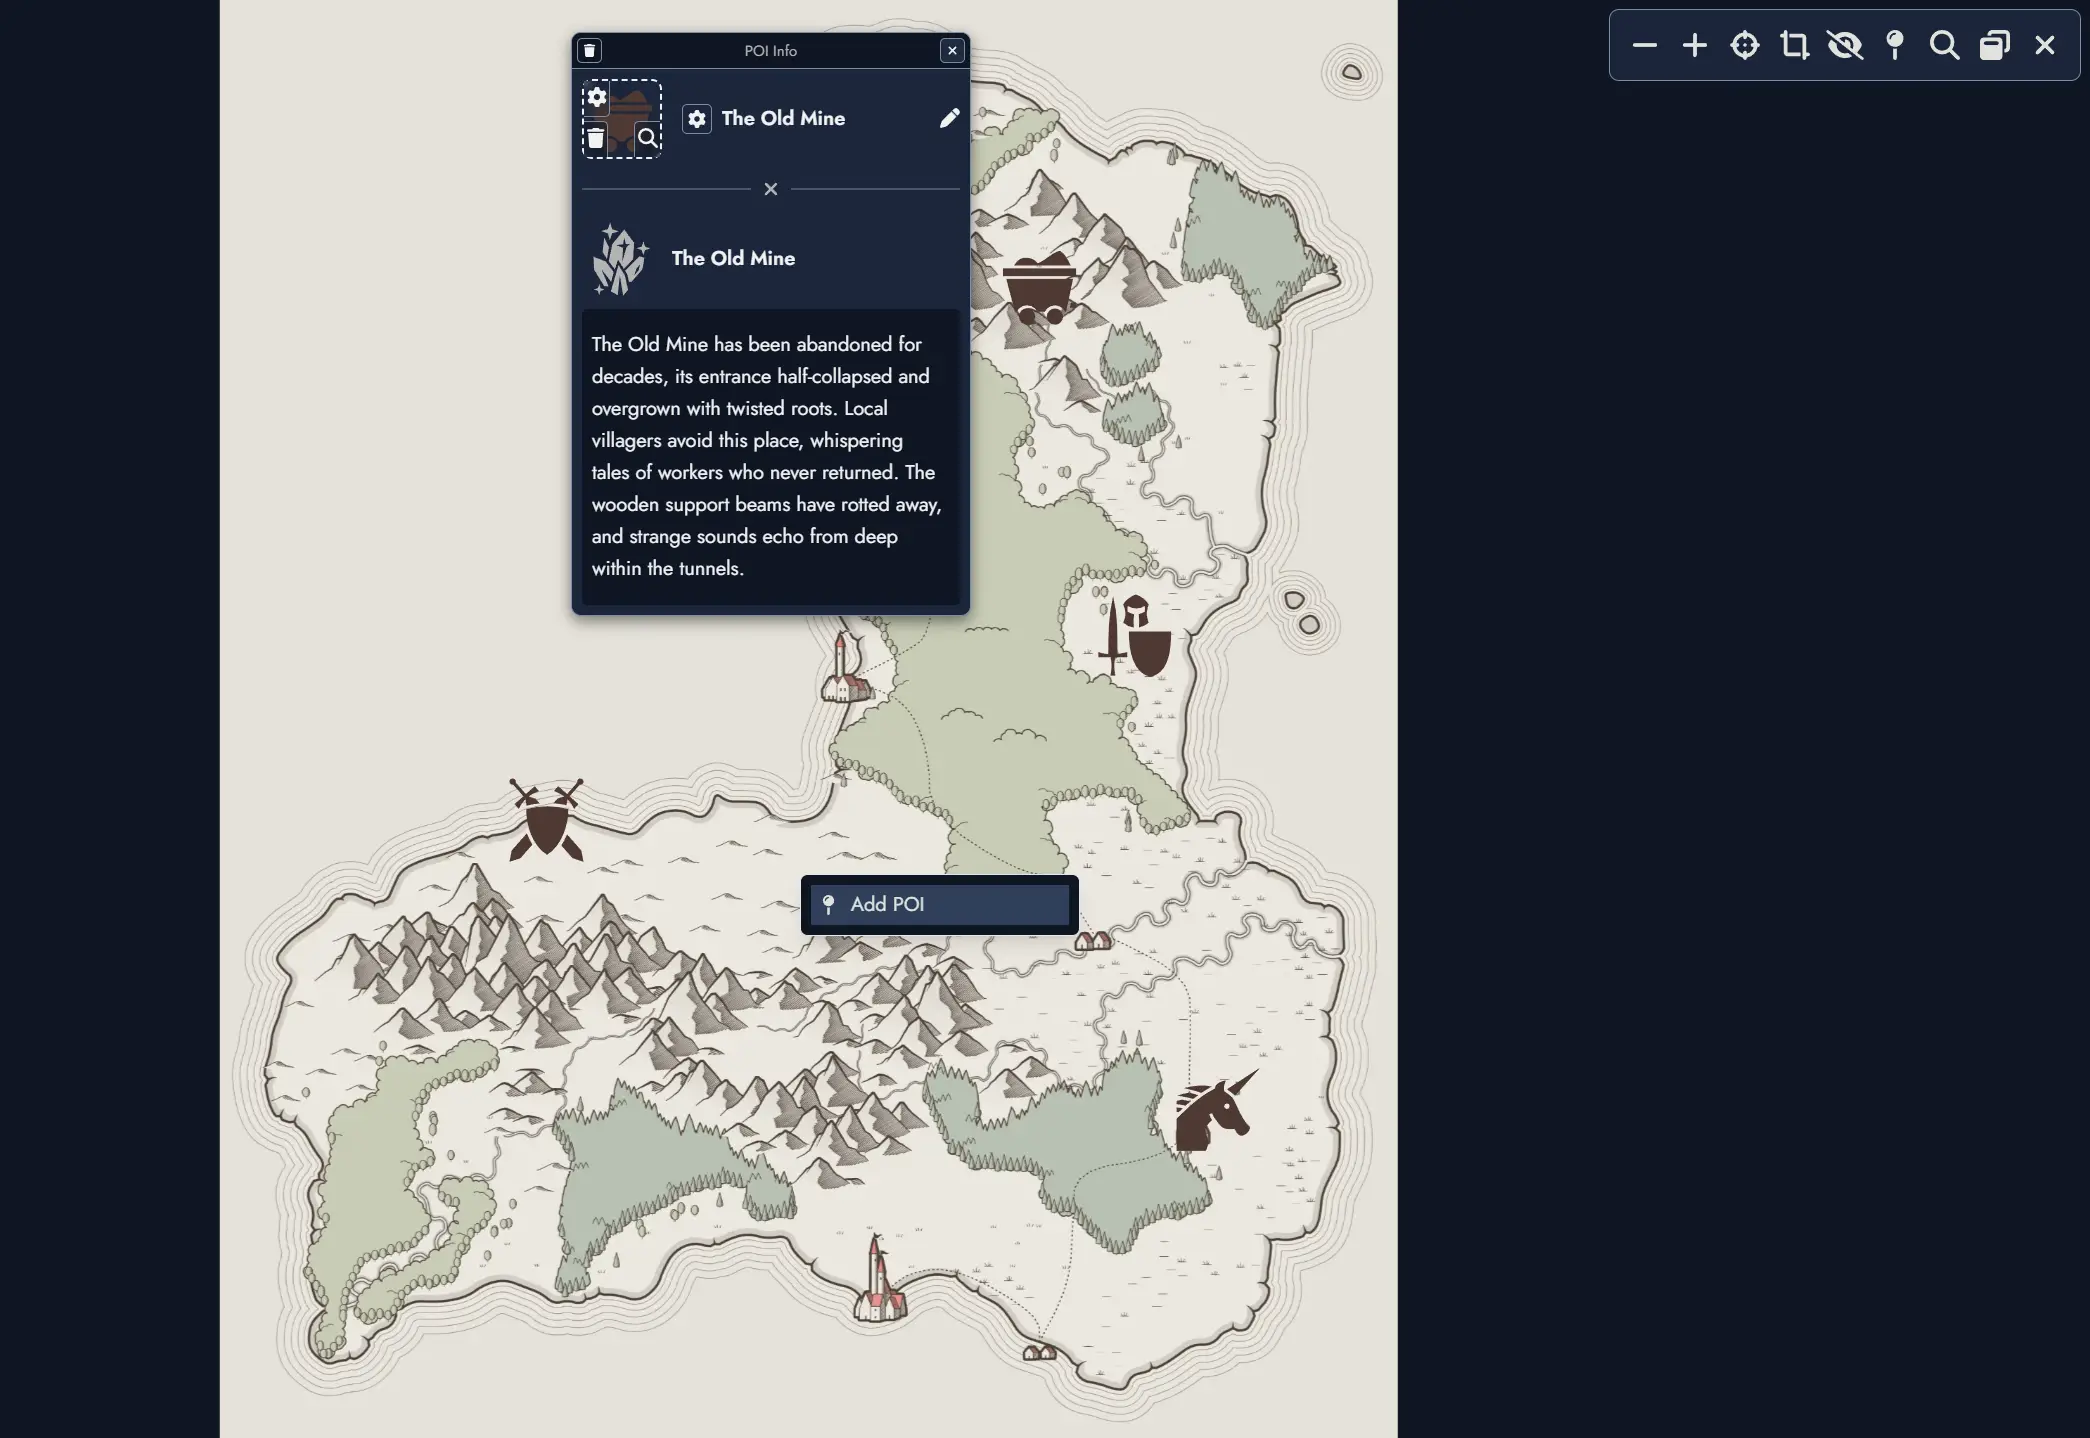
The Map Editor features a toolbar at the top with the following controls:
- and buttons to zoom in and out.
- button to center the map in the viewport.
- button to fit the entire map within the visible area, resetting both zoom level and position.
- / toggle to show or hide all Points of Interest.
- button to add a new Point of Interest.
- button to search for specific Points of Interest by name.
- button to toggle between full-screen and windowed mode.
- button to close the Map Editor.
While in the Map Editor, you can navigate the map by dragging with your mouse or touch gestures, and zoom using your mouse wheel or pinch gestures on touch devices.
Points of Interest (POI)
Points of Interest are markers you place on your maps to highlight important locations, encounters, or narrative elements. Each POI can have a name, a featured image or icon, and can optionally be linked to a Node in your Module.
Adding a Point of Interest:
- Click the button in the Map Editor toolbar.
- Click anywhere on the map to place the marker.
- A POI configuration panel will appear, allowing you to set a name, choose an icon or image, and optionally link the POI to a Node.
- You can also add a Point of Interest by right-clicking (or long press on mobile) anywhere on the map to open the context menu, then selecting "Add POI".
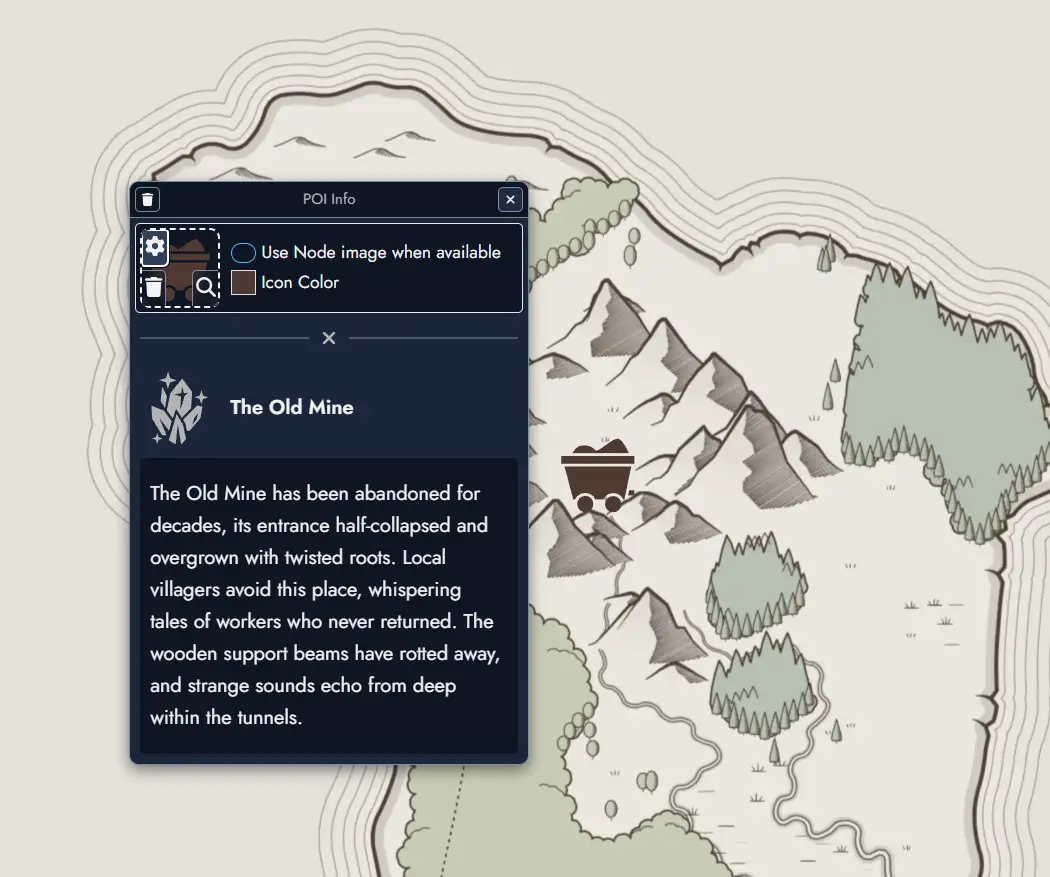
When a POI is linked to a Node, you can choose to automatically use the Node's featured image instead of a separate icon. Even when linked, the POI name and featured image remain fully customizable if you prefer to override the Node's defaults.
Interacting with Points of Interest: Clicking on any POI marker will display an information window showing its name and any associated details. This works both in the Map Editor and when viewing Map Tokens on the Board, whether the map is in interactive mode or not.
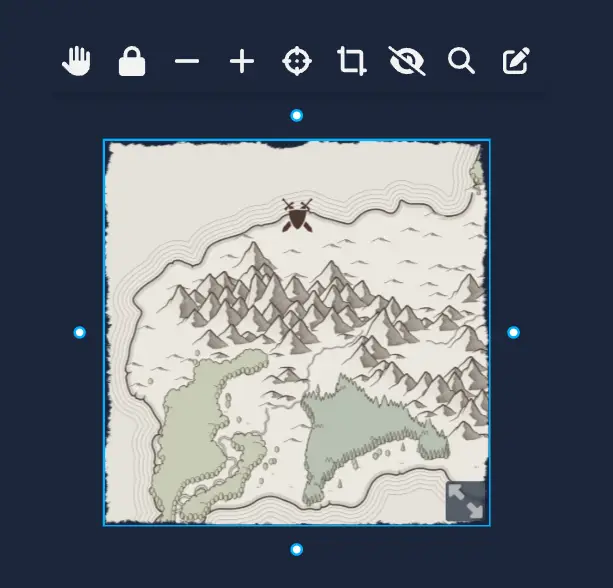
Map Tokens on the Board
Like Nodes, Maps can be placed on the Board through Map Tokens. A single Map can have multiple Tokens on the Board, each with independent positioning, sizing, and visual customization.
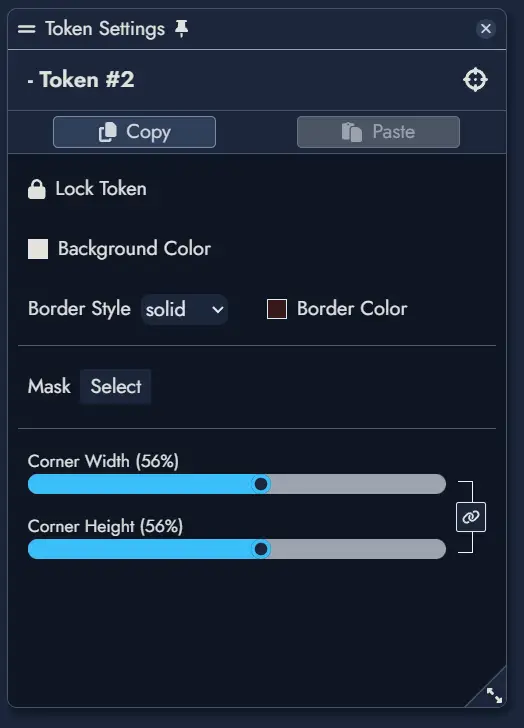
Map Tokens can be resized by dragging their corners or edges, and support the same visual customization options as other Tokens, including:
- Border style, color, and width
- Background color and opacity
- Corner roundness
- Image mask
Interactive Mode
By default, Map Tokens on the Board are not interactive. They can be moved and resized like any other Token, but cannot be explored or zoomed.
To explore a map interactively, you must enable Interactive Mode. This can be done in two ways:
- Click the button in the Map Token's floating toolbar.
- Double-click directly on the Map Token.
When Interactive Mode is active, you can drag the map to explore it and use the mouse wheel (or pinch gestures on touch devices) to zoom in and out. The Map Token itself cannot be moved or resized while in this mode.
To exit Interactive Mode and return to normal editing, click the button again or click outside the Map Token.
Map Token Toolbar
Each Map Token on the Board features a floating toolbar that appears when you hover over or select the Token. This toolbar provides quick access to common map controls without needing to open the Map Editor. In reader mode (shared modules), a compact version of the toolbar is also available, providing quick access to Interact, Zoom, Fit, and Open Map controls.
- Toggle Interactive Mode on or off.
- / Lock or unlock the Token to prevent accidental movement.
- Toggle Interactive Mode on or off.
- / Lock or unlock the Token to prevent accidental movement.
- and Zoom in and out.
- Center the map in the Token's viewport.
- Fit the entire map within the visible area, resetting both zoom level and position.
- / Show or hide Points of Interest.
- Search for specific Points of Interest.
- Open the map in the Map Editor.
These controls allow you to explore and present your maps directly on the Board, making them ideal for session play, collaborative planning, or visual storytelling alongside your Nodes and other Assets.