The Board
The Board serves as your main workspace in Alkemion Studio, where you visually map out and manage the components of your Module.
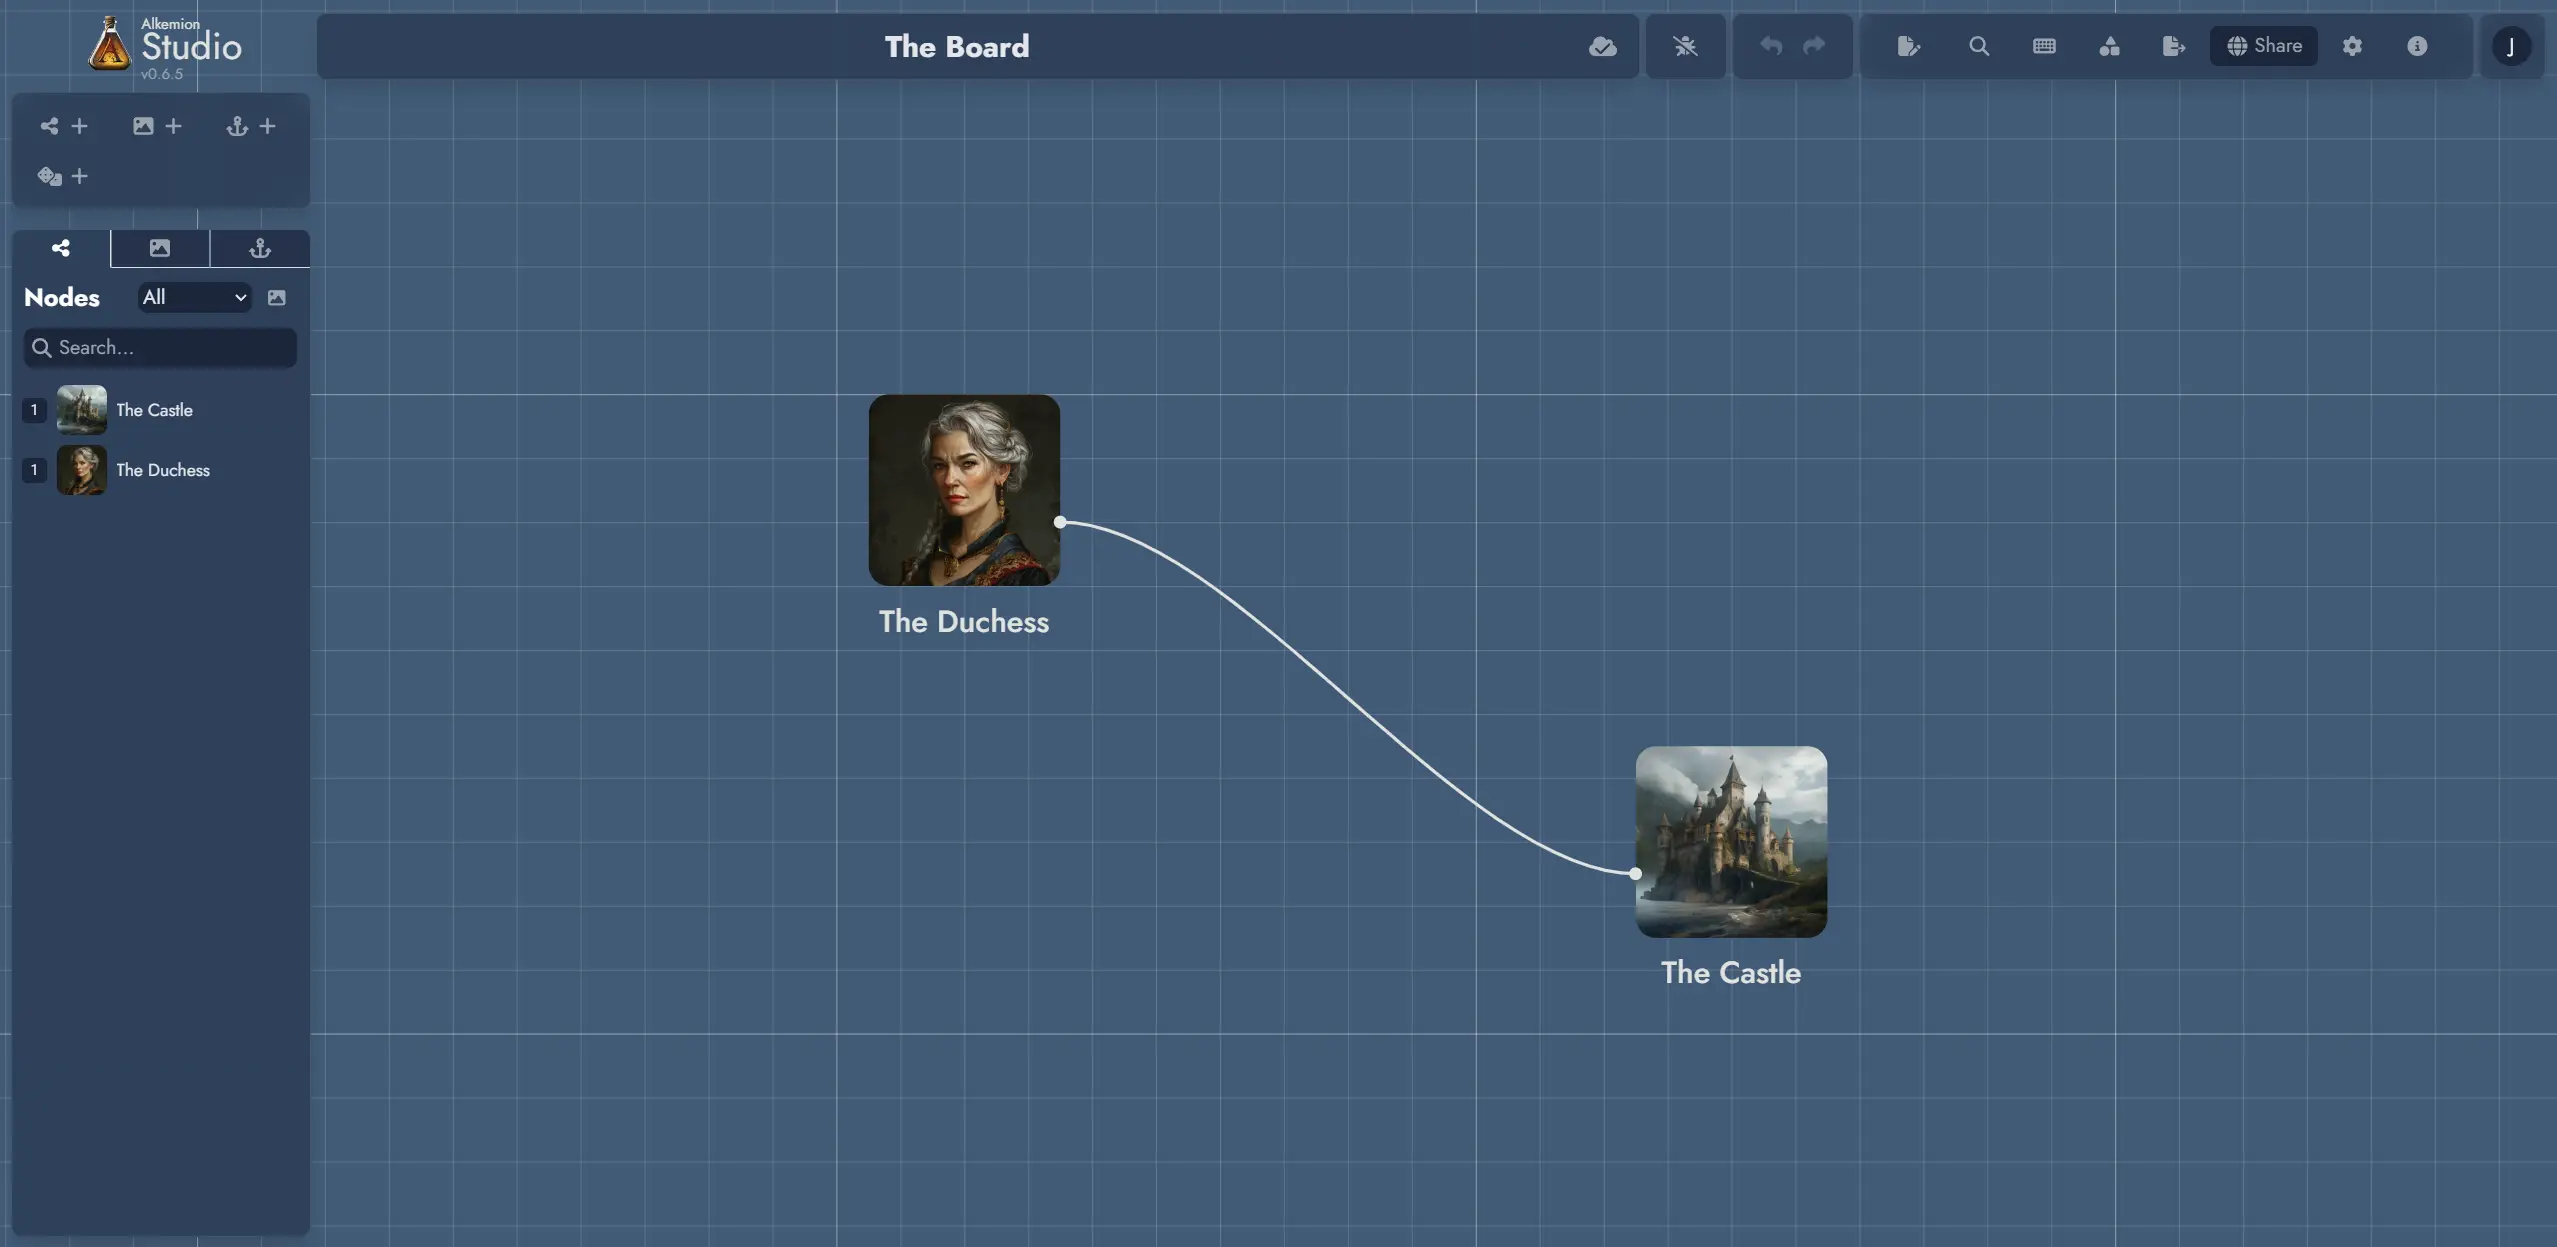
The Board lets you position different types of Assets (Nodes, Widgets and Anchors) using customizable Tokens to visually compose your Module.
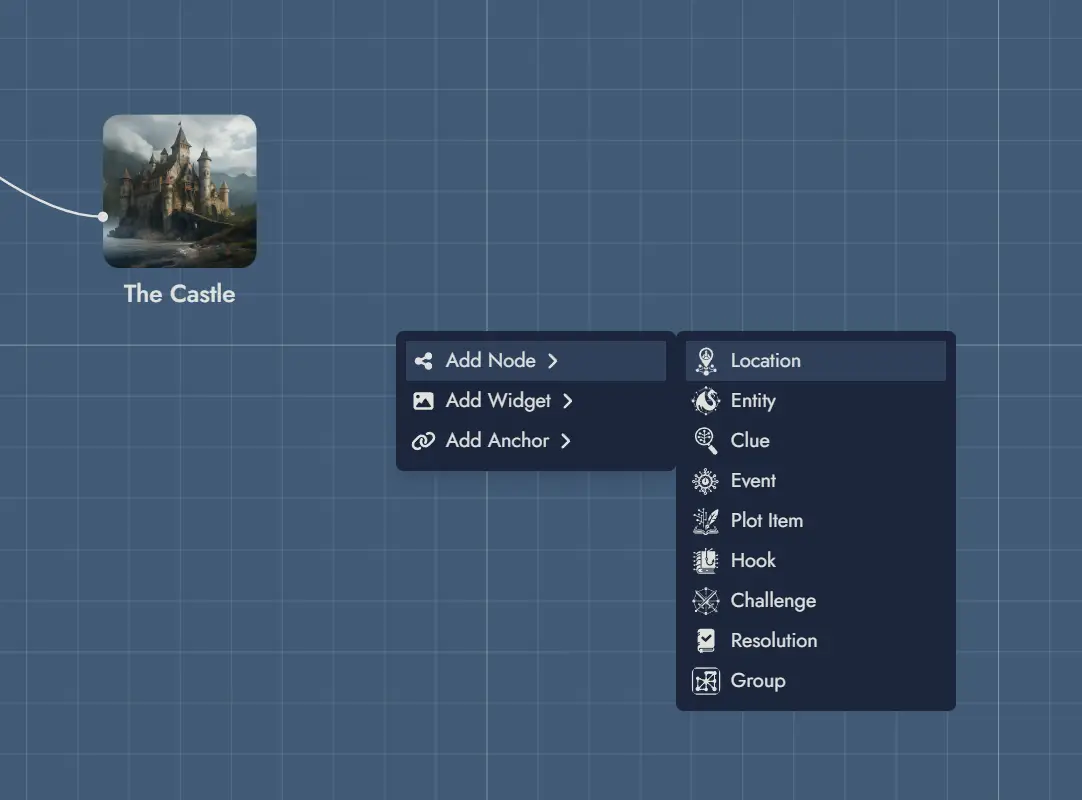
Board's context menu
Clicking on the Board with the right mouse button will open a context menu. You can create new elements directly on the Board via this context menu.
When creating an Asset this way, a Token will be positioned directly where you invoked the menu (or, in the case of the mobile version, in the center of the screen).
Beyond asset creation, the context menu gives access to board-level settings (toggle grid, toggle snapping, toggle floating toolbars, set the board grid color, open the Board settings panel) and View actions: Save as View captures the current viewport as a new View, Show / Hide all Views toggles the visibility of all View Tokens on the Board, and Open View Manager opens the View management panel. When one or more Tokens are selected, Create View from selection is also available, creating a View bounded by the selected Tokens. When inside a Module Collection, an Open Module Panel option is available too. See the Views page for more details.
When the current Module is a Module Collection, the context menu also includes an Add to Collection action, which opens a Module picker to assign any eligible Module as a child of the collection.
As a shortcut, double-clicking on any empty Board space creates a new Node directly at that position. By default the Node uses the Generic type; you can configure a different default type in the Board Settings using the Preferred Node Type setting.
Press F2 to rename the focused item directly on the Board. This works for Node Tokens, Widget Groups, Text Widgets, and Link Token labels.
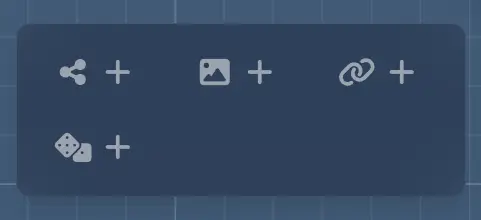
Adding Assets to the Board
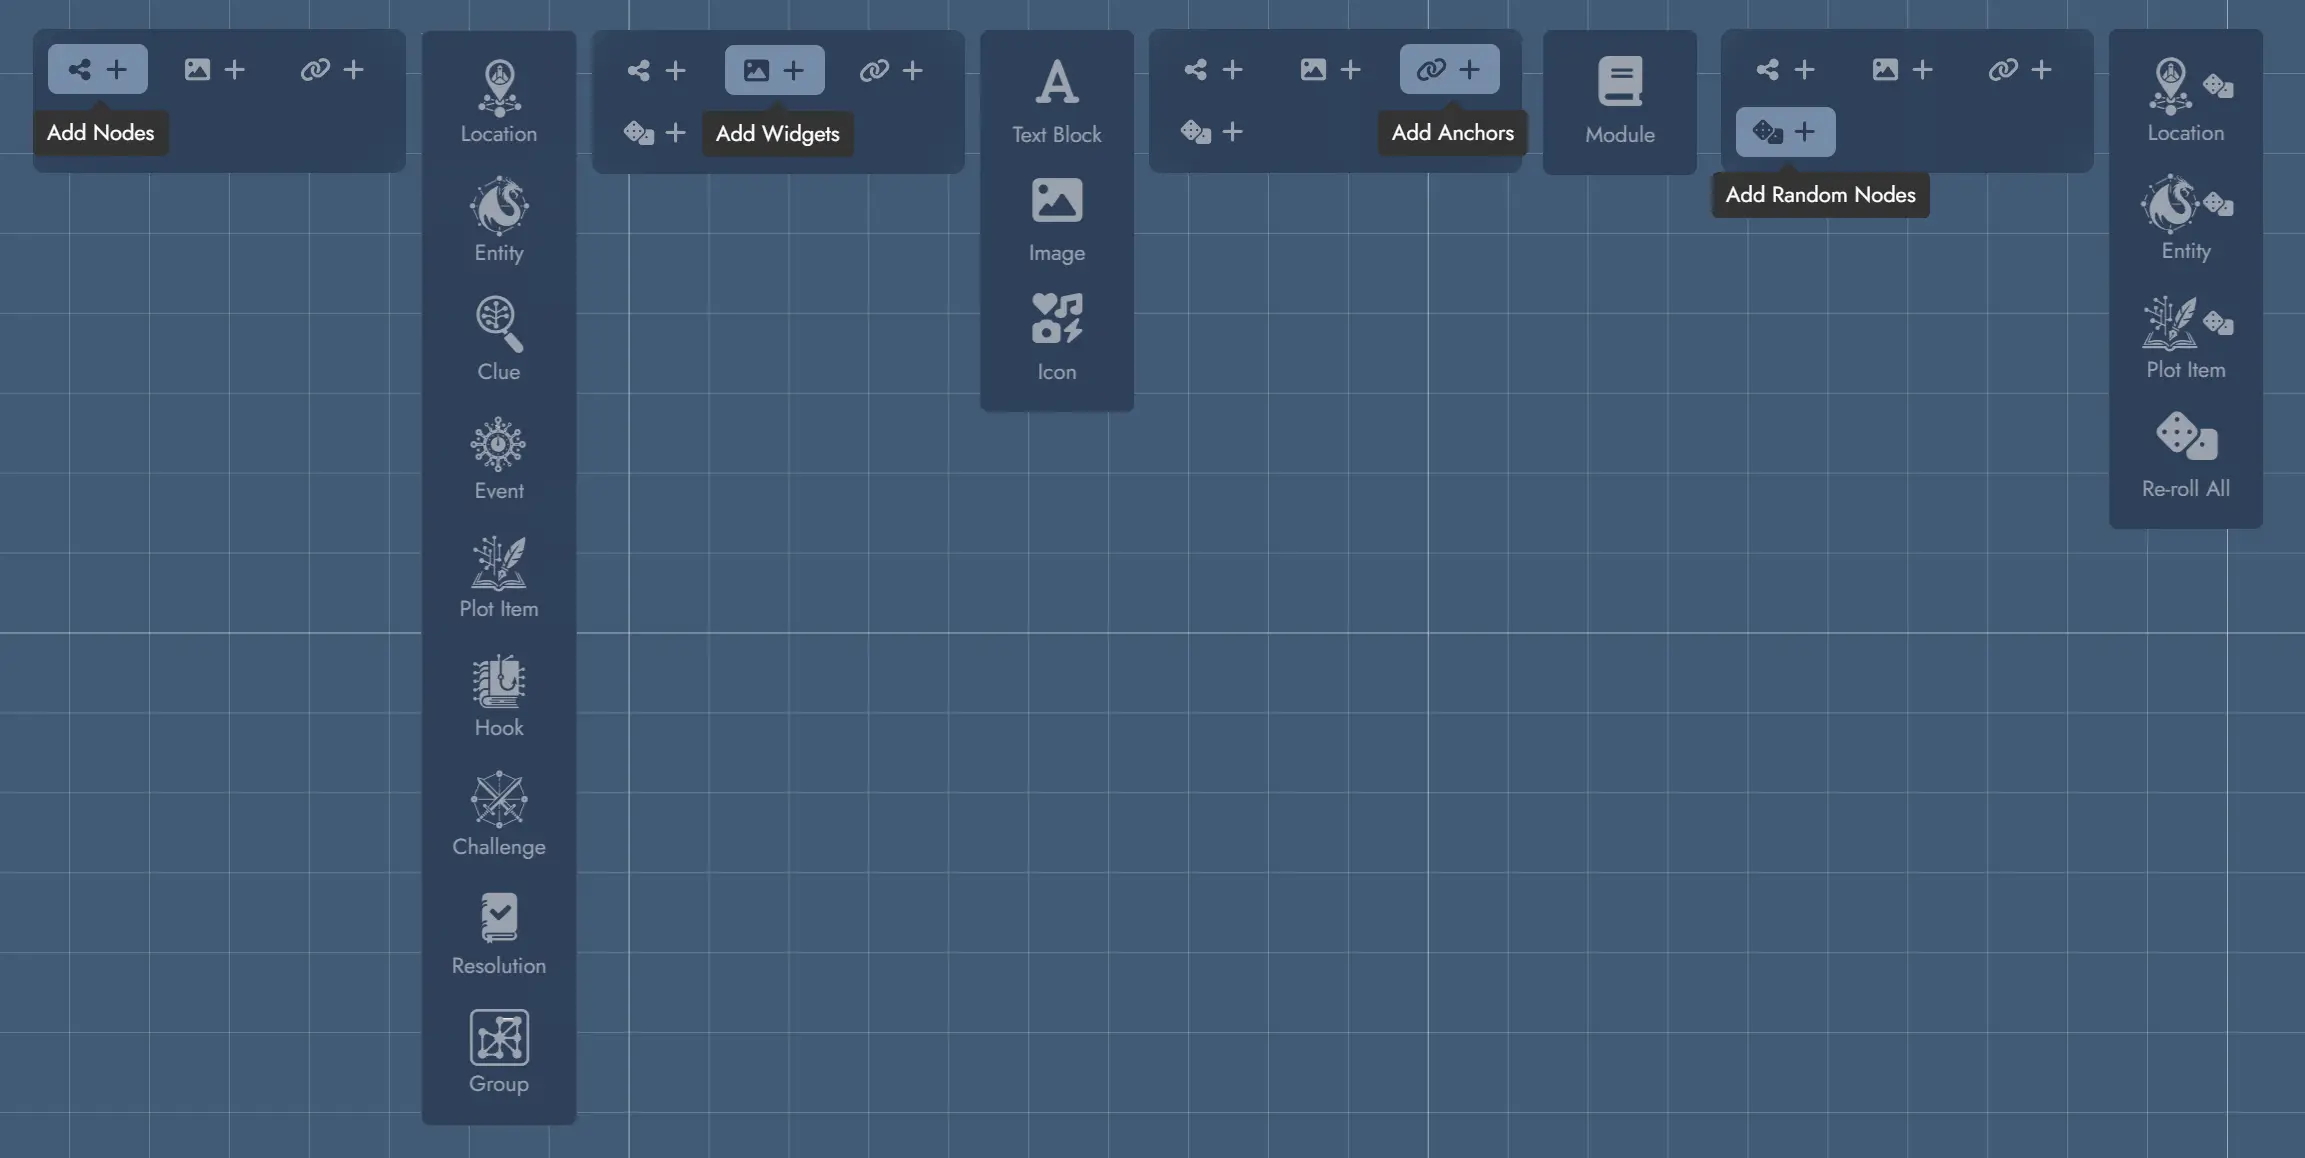
Each toolbar button on the left of the interface is a switch that displays or hides functions grouped by theme. Most of the functions accessible here are used to add components to the Board: Nodes, Widgets, Anchors and Random Nodes.
Each set of functions let you add the different types of Assets from each category.
The last set, Random Nodes, provide handy functions to spawn Nodes pre-configured with Random Tables. This is designed to get an efficient access to the most generic Random Tables. It also provides a special command allowing you to re-roll every Random Node in the Module.
Asset Tree
The Asset Tree gives you quick access to all the components in your Module. It features three tabs for the three types of elements available: Nodes, Widgets and Anchors. A contextual menu shows the different actions possible for each type of Asset.
For Assets that may have several Tokens, the Asset Tree also lets you manipulate each one individually.
Hovering the pointer over an item in the Asset Tree will highlight its corresponding Token on the Board if it is in the currently visible part of your screen. Double-clicking on one of the elements will select its corresponding Token and position the camera over it. If the Asset has several Tokens on the Board, double-clicking several times will loop through them.
The “Nodes” tab lets you limit the display to a specific type of Node via a drop-down menu, as well as filtering by name via a text input field.
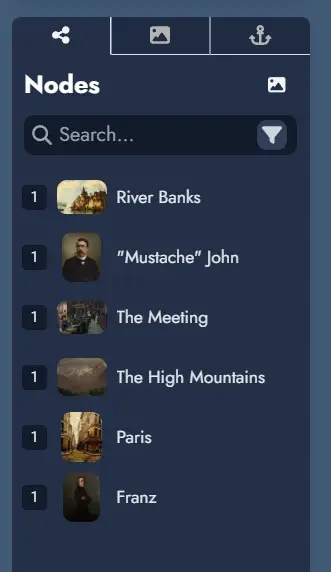
The number displayed to the left of each Node or Anchor indicates the number of Tokens it contains. Widgets do not display such a number because they can only contain one Token.
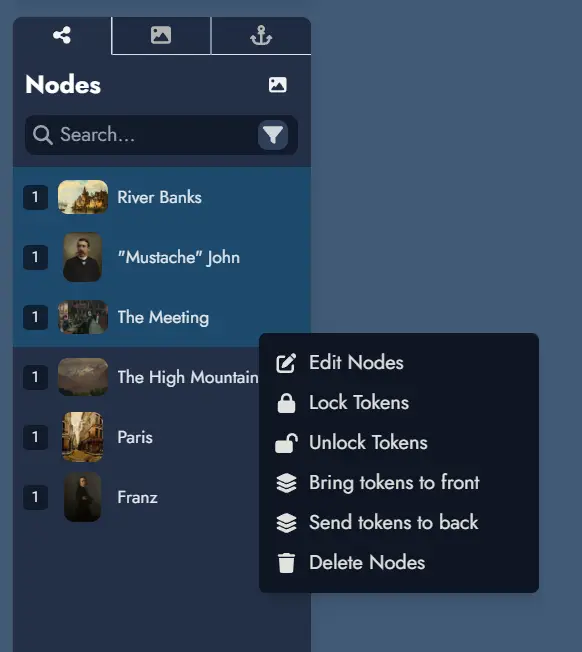
Right-clicking on an Asset in the tree will display a contextual menu with various actions (or a long press on touch devices). Most of these actions can also be applied to a selection of Assets. To select multiple Assets, hold down the Ctrl key while clicking.
Search
The Node Tree includes a search function. The text field allows you to search within the names of the Nodes in your module.
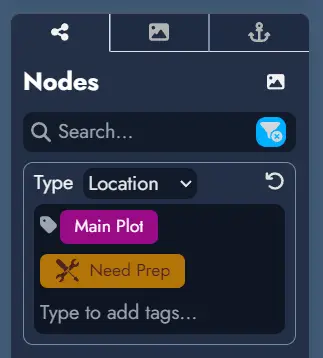
A filter button on the far right of the search field provides additional filtering options. You can filter Nodes by type or select specific Tags if they are available in the Module. The filter button turns blue to indicate when a filter is active.
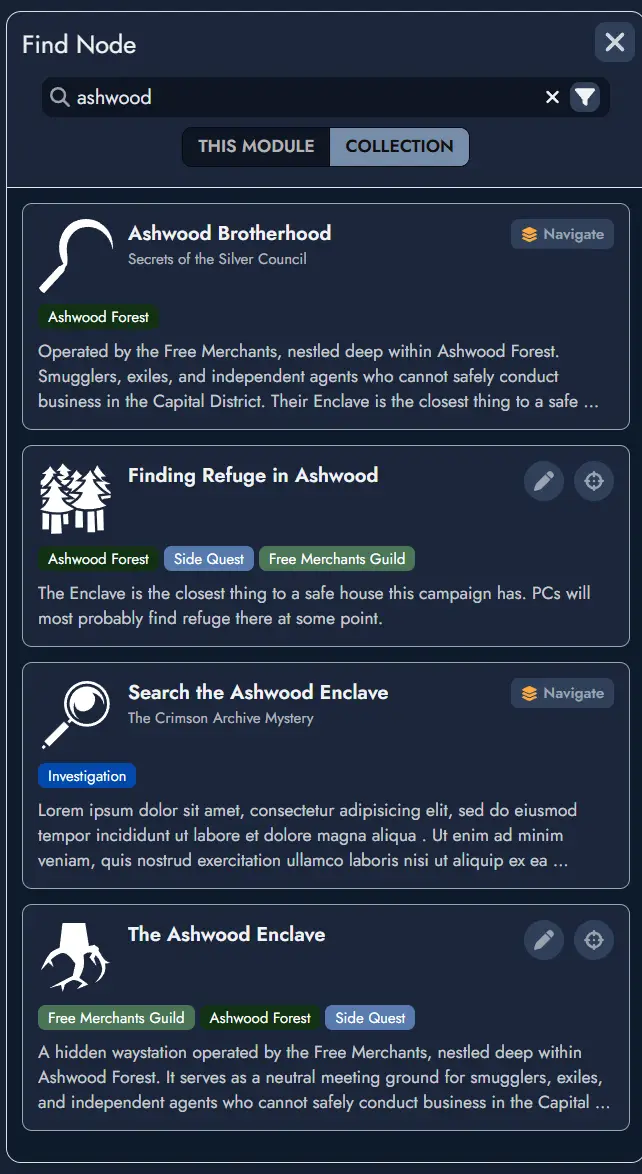
Beyond the Node Tree, you can open a dedicated search window using the search button in the top toolbar or by pressing the Ctrl + Shift + F. keyboard shortcut.
This search window offers an interface similar to the Node Tree search, allowing for quick access to Nodes across your Module. Each result shows the Node name, type, Tags, a content preview, and the source Module name (results from the current Module do not show a source label).
When the current Module belongs to a Module Collection, the search window includes a scope toggle.
Switching to Collection searches across every Module in the collection at once. Results from sibling Modules display the source Module name alongside the Node name, type, Tags, and a content preview.
Depending on the scope, you can do various actions. For local Nodes, you can either center the Board on the Node or open it in the Editor. In Collection scope, you can navigate directly to any Node, which opens the source Module and scrolls to that Node.
Quick Navigation
When the current Module belongs to a Module Collection, a quick navigation button appears at the bottom right of the Board. Clicking it opens a menu listing all Modules in the collection. Selecting any Module from the list immediately navigates to it.
This provides a fast way to move between Modules in a collection without returning to the Lobby.

Views
A View Shortcut button in the bottom-right corner of the Board gives quick access to all saved Views for the current Module. Views are named navigation shortcuts that smoothly pan and zoom the Board to a specific region of the canvas.
You can also open the Module Panel at any time with the keyboard shortcut Ctrl + Shift + M.
See the Views page for the full documentation on creating and managing Views.
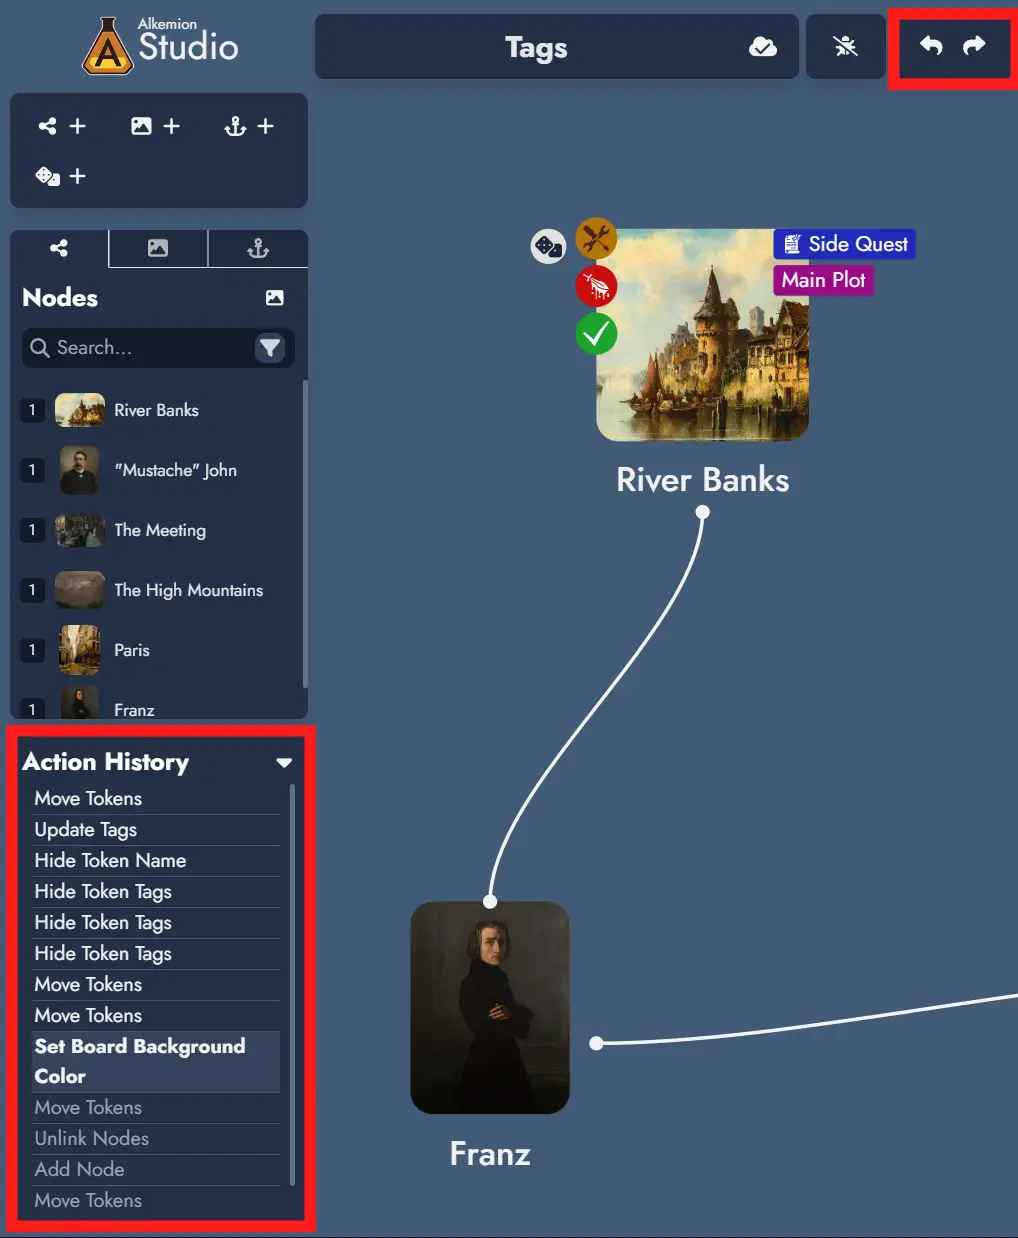
Undo/Redo
Most actions in Alkemion Studio can be undone (and redone). Use the "undo" and "redo" buttons in the interface or the keyboard shortcuts:
- Ctrl + Z to undo the last action
- Ctrl + Y (or Ctrl + Shift + Z) to redo the last action
Undo and redo are context-sensitive. You can only undo or redo actions within the same interface where the action occurred. For example, actions on the board can be undone while on the board but not while the Editor is open. Each context has its own undo/redo history.
The list of actions currently stored in the undo/redo stack is displayed in the Action History panel, right under the Node Tree.
NB: reloading the application will clear the undo/redo action stack.